
Your design is the specification
The render is read as finished work. Same furniture, same colours, same materials, same lighting, same camera. Only the rendering itself changes.
Renders
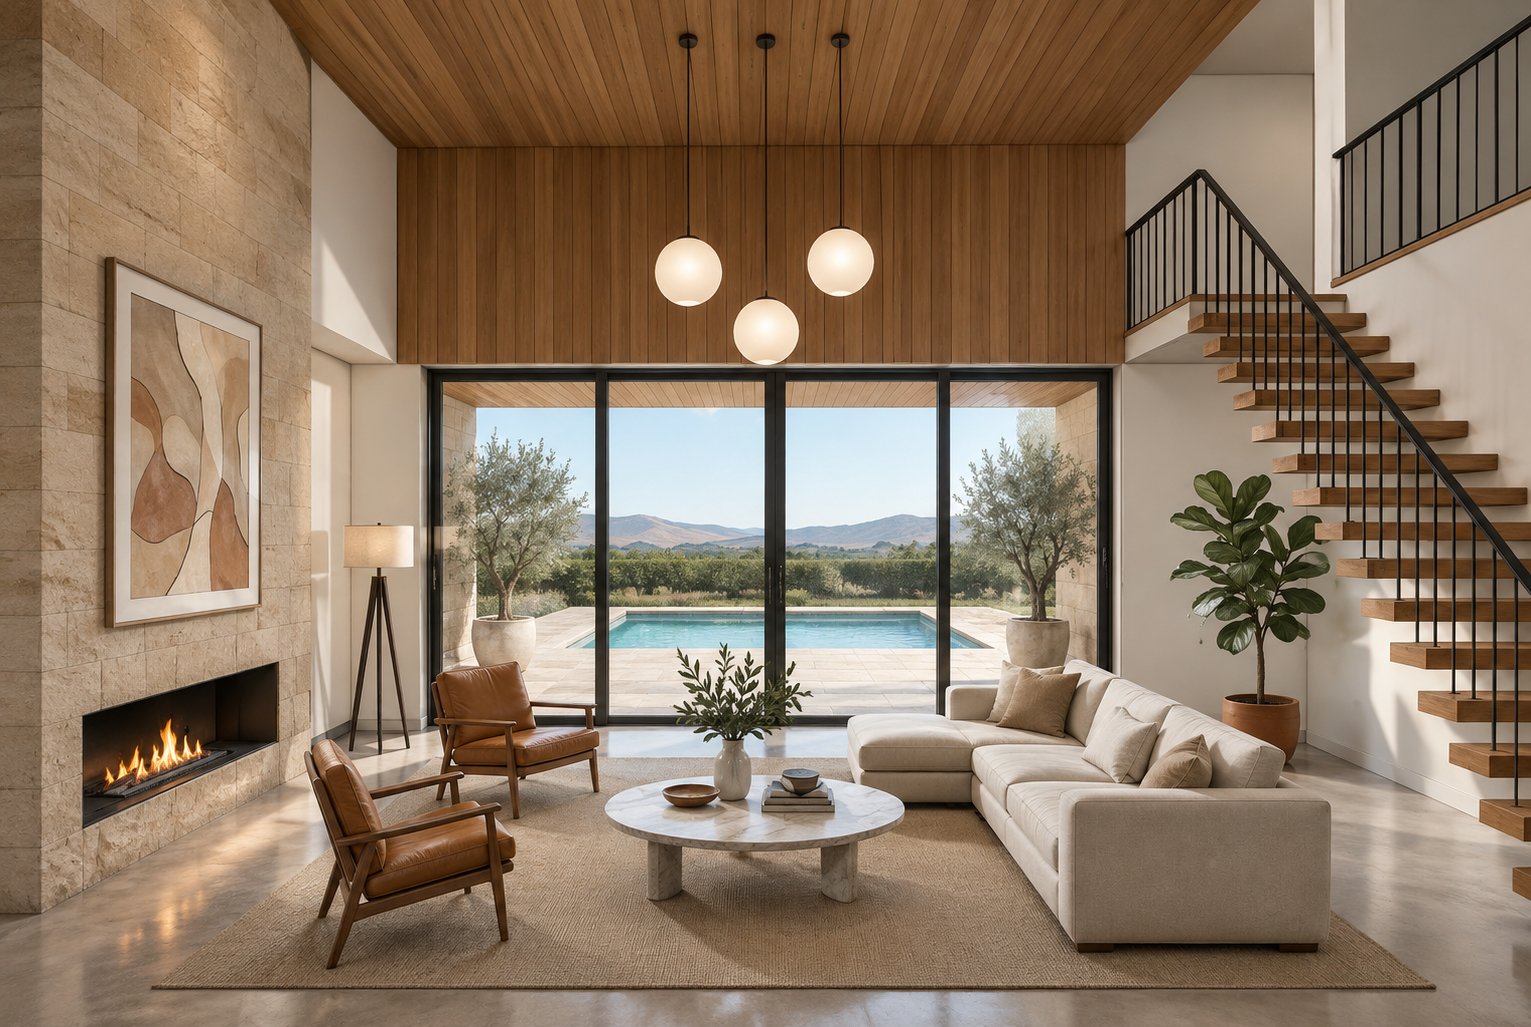
Drop in a 3D render, a CGI view, a model screenshot or a flat visual of a room or a building. It comes back as a photograph of that same space, with every object exactly where the render put it.
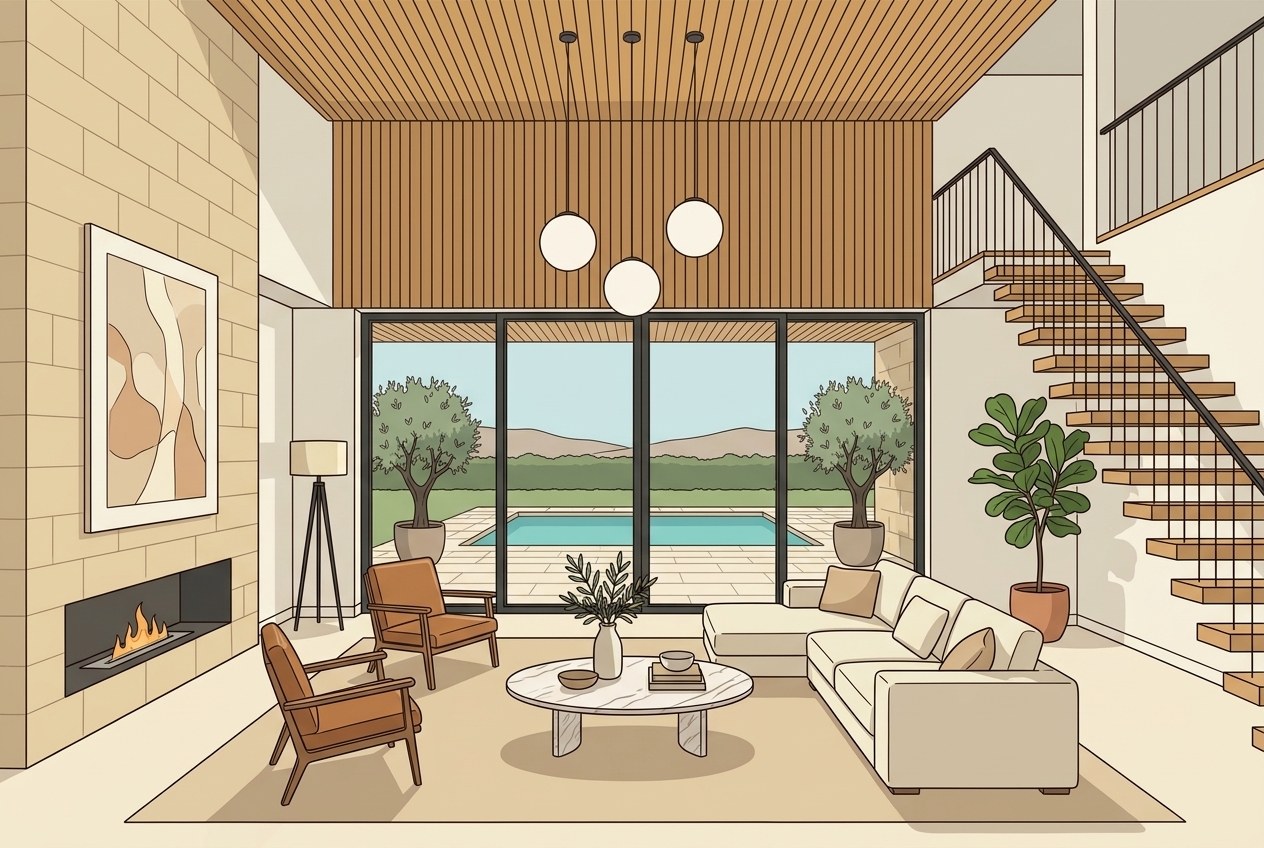 RenderPhotograph
Step by step
Anything that has already decided the colours and the layout: a 3D render, a CGI view, a clay or white model, a screenshot of the viewport, or a flat illustration. JPEG, PNG or WebP, up to 40 MB.
One setting, and the only thing there is to choose. Inside, the work is fabric, rug pile and the view through the glass. Outside, it is brick coursing, the line where the building meets the ground, and the sky.
The photograph comes back next to your render in the same slider, shot from the same camera position, so every piece of furniture can be found in the place you put it.
Try it now
Drop in the render and Miravely opens straight into render to photo. Say whether it shows a room or a building, and that is the only choice there is.
Drop in a photo
JPEG, PNG or WebP, up to 40 MB.
The render is read as finished work. Same furniture, same colours, same materials, same lighting, same camera. Only the rendering itself changes.
Indoors it has to get fabric, rug pile and the view through the glass right. Outdoors it is brick coursing, the junction where the building meets the ground, and the sky. You pick which.
A clay model, a SketchUp view or a flat illustration works. Anything that has already decided the colours and the layout is enough to work from.
Questions
No. The render is treated as the specification, the same way a drawing is in sketch to render. Nothing is restyled, tidied, upgraded or added to fill a gap, and the object count in the result matches the object count in the render.
Where you start. Sketch to render is given bare lines with nothing decided about colour or material, so it invents those. This one is given a source that has already decided them, so it invents nothing and only replaces the rendering with photography.
All of them, because it reads the image and not the file. An export from SketchUp, Enscape, Lumion, Twinmotion, D5, Blender, V-Ray, 3ds Max or Revit works, and so does a clay model, a screenshot of the viewport, or a flat illustration with no lighting in it at all. Save it as a JPEG, PNG or WebP and upload that.
Yes, and the setting you pick decides which. Set it to a building outside and the footprint, the number of storeys, the roof pitch, every opening and the direction the shadows fall are held exactly as the render has them, while the brick coursing, the render texture, the reflections in the glazing, the junction where the building meets the ground and the sky are rebuilt the way a camera would record them.
One to two minutes for one image. The exact price in credits is shown in the studio before you generate, never after, and a new account starts with 72 free credits to try it with.
72 free credits, enough for a couple of photos or one short clip. No card needed.